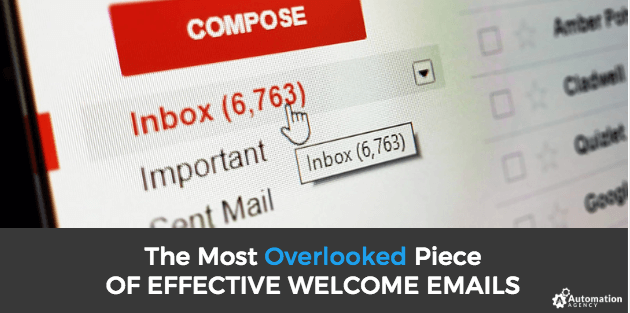
When a new subscriber signs up for your emails, the first message you send is the most important.
Whether they were enticed by a content upgrade or they joined your webinar, they’ll be looking out for a message from you. And if this first message finds its way to a spam box or promotion folder, interested leads will know to look for it.
However, when they’re not actively looking for a message from you (e.g. when you send them the rest of the emails in your sequence) your content can easily be ignored. Your initial welcome email is your first chance to connect with your new subscriber, and if you’re not taking the extra steps to perfect your welcome email to become whitelisted, you may not get the lead’s attention again.
So in order to make the best first impression possible and keep your emails in your subscribers’ primary inbox, here are the step you need to create a seriously effective welcome email with whitelist instructions.
Want To See Automation Agency In Action? Watch Our CEO Explain the Service & Demonstrate How to Send In Tasks!
The Importance of the Welcome Email
Your welcome email is your opportunity to get your new subscriber excited about connecting with you. A typical welcome email thanks the new subscriber for connecting while also introducing the brand. It’s also standard to talk about expectations and what the new subscriber will get from becoming a part of the email list.
But even with a great introduction, you aren’t guaranteed your recipient will engage with each message. And if they don’t whitelist your messages, your content may end up sorted into the wrong folder.
To ensure your messages wind up in the recipient’s inbox, you need to get approval from your subscribers. The best way to do this? Including instructions. Showing subscribers exactly how to whitelist your messages encourages new recipients to work with you to prevent your content from ending up in the trash.
Why Whitelisting Instructions Can Become Complicated
How an email recipient whitelists your emails will depend on the ESP they’re using. Unfortunately, you can never know what kind of provider your subscribers will be viewing your content on. This can make it difficult to provide each individual with specific instructions for whitelisting your emails.
To ensure each individual is getting the instructions they need, you’ll need to provide them with the appropriate steps for each main email provider. While this can seem like a lot of information for your subscribers to absorb, making it as easy as possible will improve your chances of getting your recipients to react the way you want.
It’s important that you don’t assume your email subscribers will do whatever possible to get your messages. While they may want to connect and engage with your brand, you need to remember that they’re busy people. If there are too many steps or the process feels overwhelming, they may just allow your emails to continue to pile up in their spam.
To reduce complications associated with whitelisting your messages, you need to present instructions in the most efficient way possible.
Link to a Whitelisting One-Pager
If you send instructions for various email providers in one email, it can feel overwhelming for the person on the other end. While they may not need to follow all the steps, it can make adding your emails to their whitelist seem like a complicated process.
To reduce the shock of a long message, try linking to a list of whitelisting instructions. There are a few different ways you can do this:
First, you can pull information from another individual’s website and include a link within your own email. While this is simple, it doesn’t push the attention back to your brand.
A better option is linking instructions on how to add your emails to a whitelist using Email Jedi to create your own branded list. You can then embed this list onto your own website. When your subscribers click the link in your email, they’ll be brought to your page, which will remind them who they’re engaging with.
How to Create A Branded Whitelist Instructions List
Here’s how you can set up your own branded whitelisting instructions list using Email Jedi:
1. Provide Your Contact Information
The first step in setting up your branded instructions is to provide Email Jedi with some contact information to customize your list. You’ll need to share who you’d like your email to appear “from” as well as the email address your messages should come from.
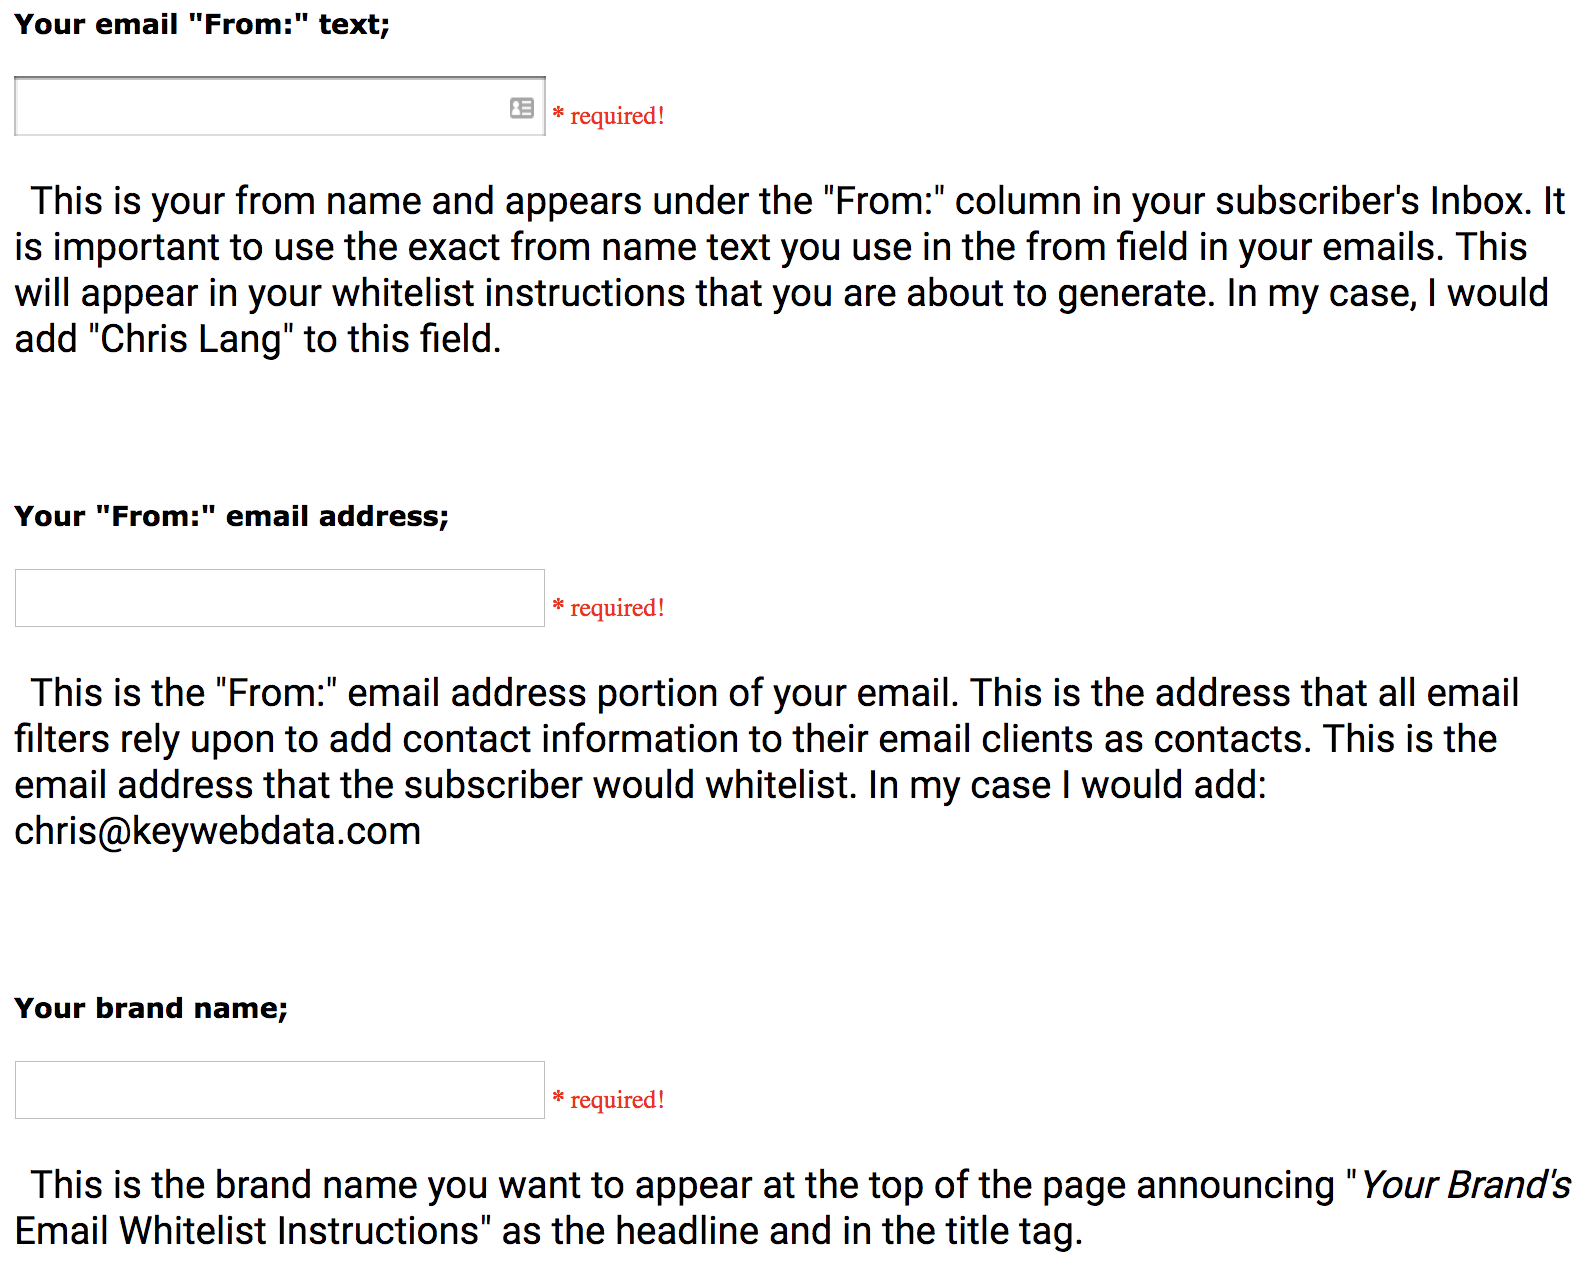
You’ll also need to share the name of your brand. This way, the list can appear as if it came directly from you.
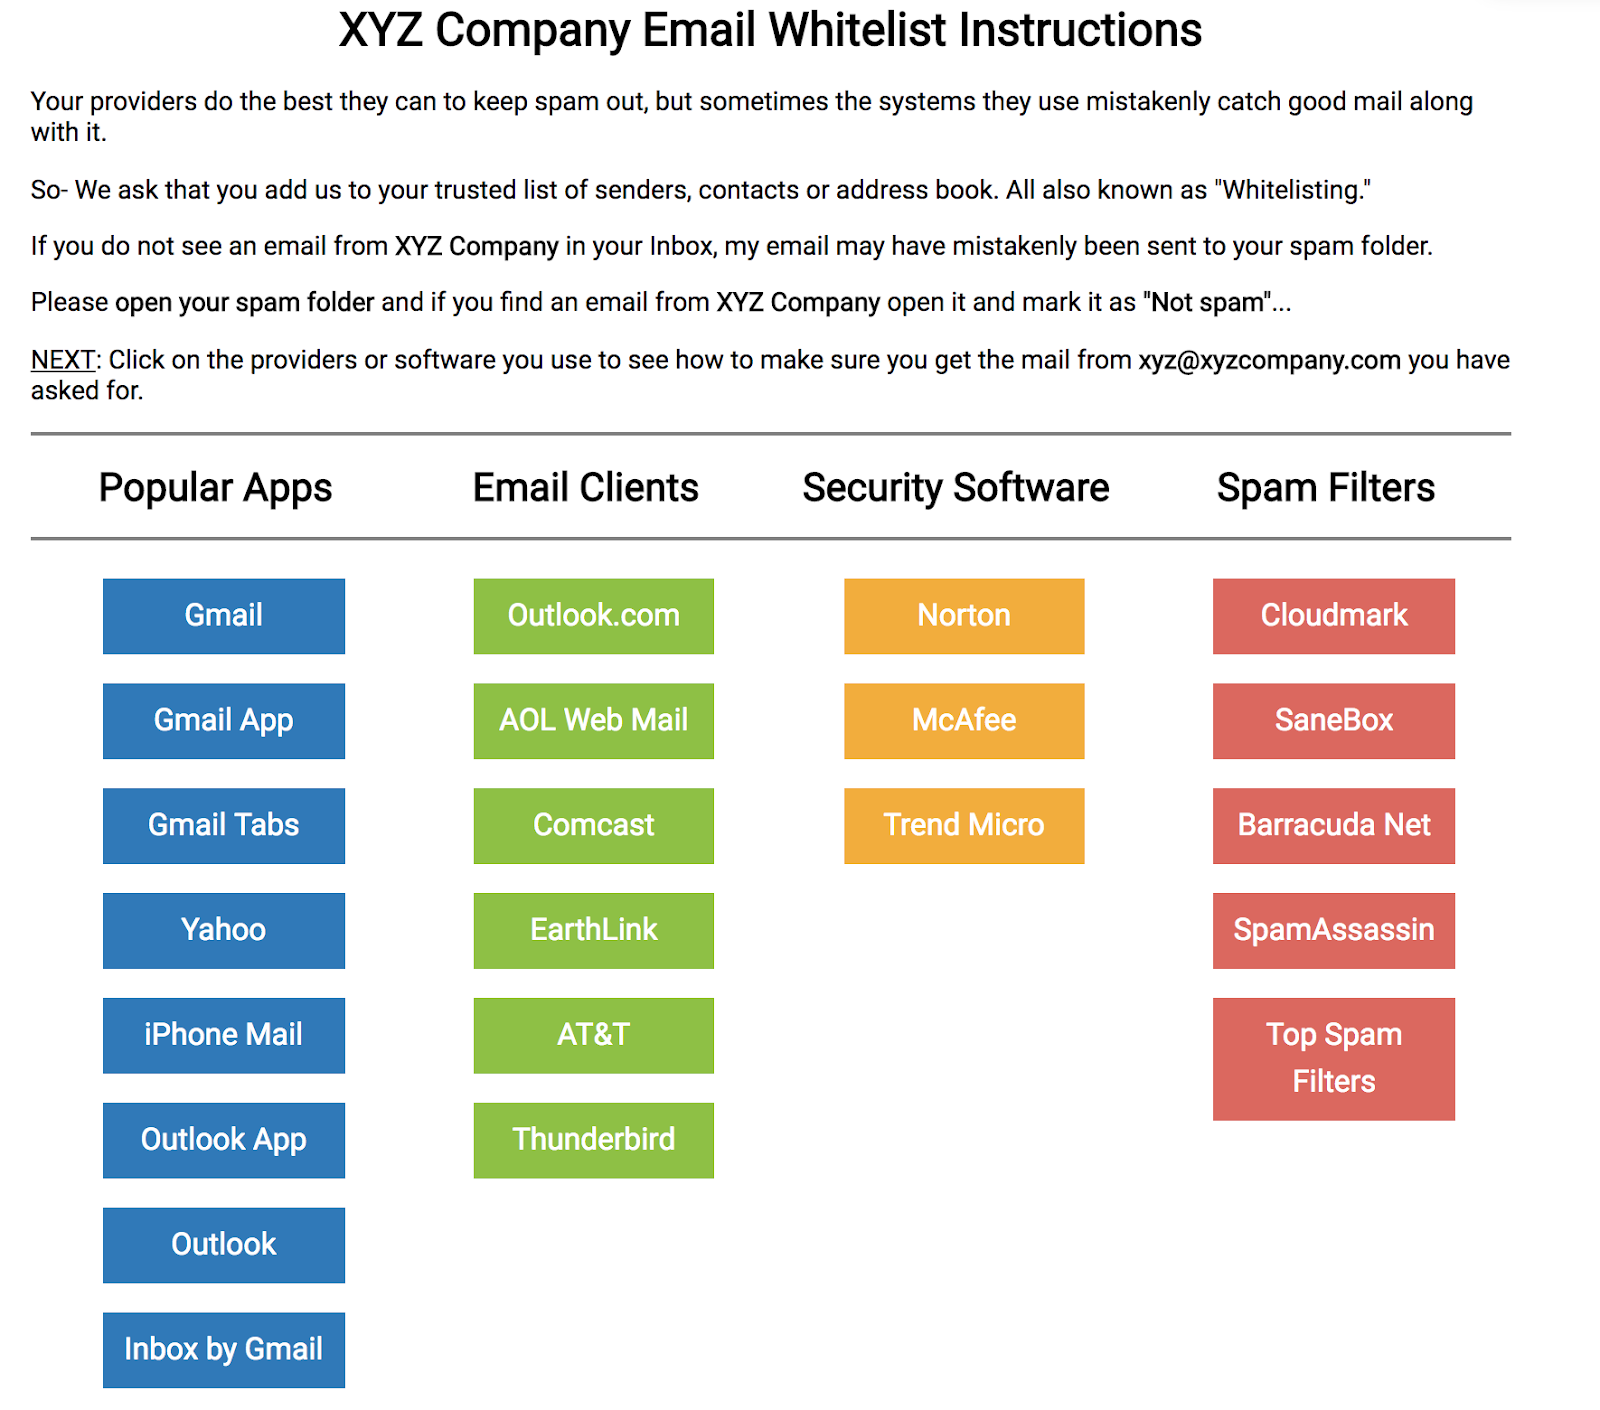
2. Generate Your Whitelist Instructions
Once you’ve entered your information, all you need to do is click “Create My Whitelist” at the bottom of the Email Jedi page. This will generate a branded page with instructions on how to whitelist an email address depending on the email provider the individual is using.
3. View Your Page Source Code
After you’ve been given your branded instructions, you’ll want to right-click on the page and select “View Page Source.”
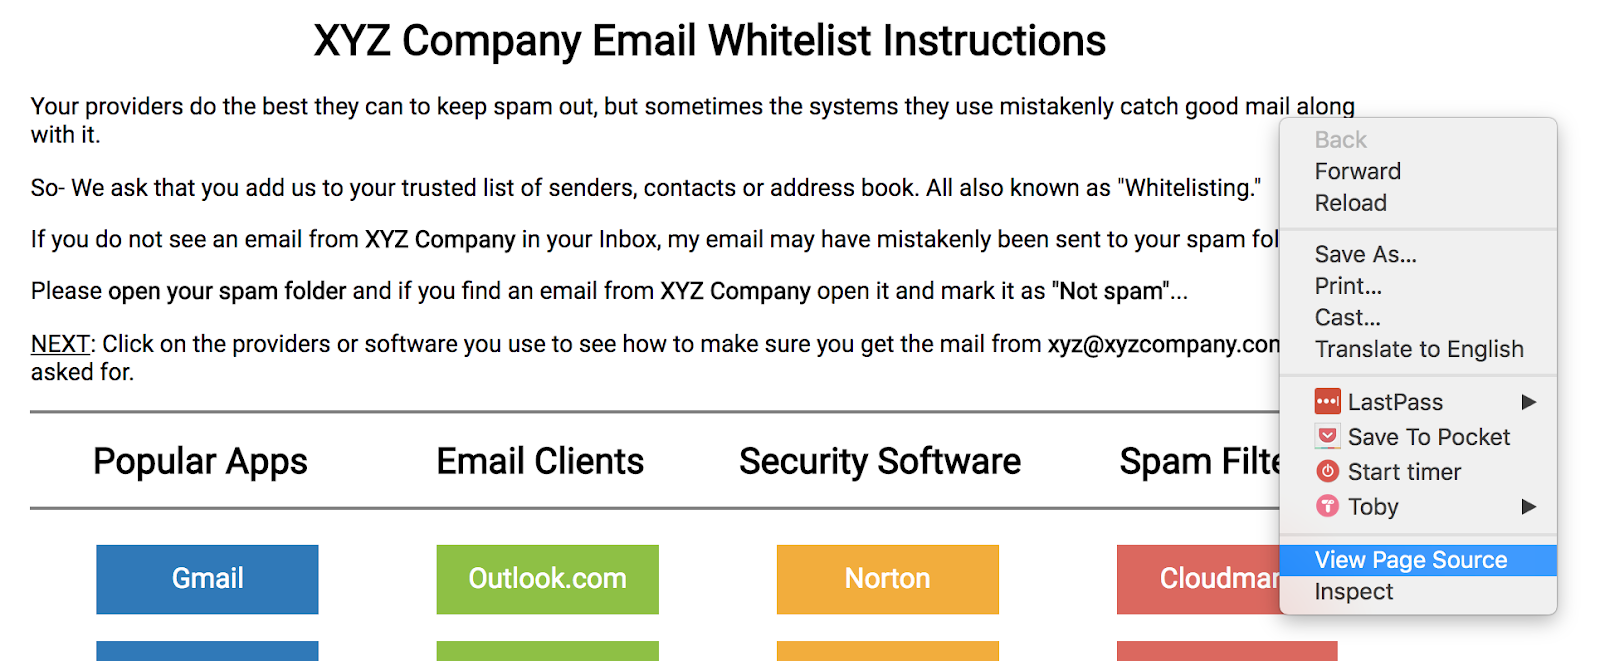
This will bring you to the back end of the page, where you can select and copy the code for the page. Paste this text into a Notepad or other text editor document and save it as a .html file.
Want To See Automation Agency In Action? Watch This On-Demand Demo!
4. Create a New Page
Depending on how you host your website, you can then take this code and create a new page on your site. If you use ClickFunnels, LeadPages, or Amazon S3, you can simply create a new page by adding this HTML to a digital asset file.
You can also create a new page from your site’s cPanel. By using the file transfer utility, you can upload this HTML code to create a new page within your website.
Don’t let your efforts to sign up new subscribers go to waste. By giving your audience clear instructions on how they can whitelist your emails can guarantee your content is finding its way into their inbox.
